The Image widget is extremely important to the overall website. The way you create/edit an image could affect multiple pages of the site.
When creating a News Article you must attach an image.
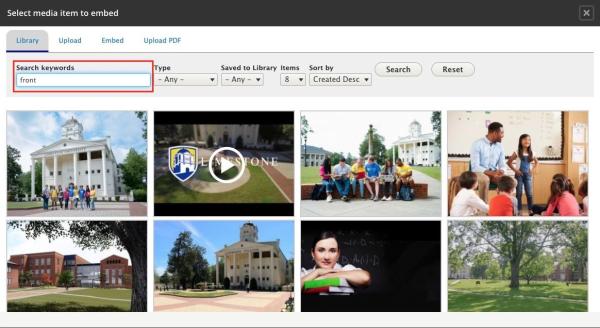
Most of the time there will already be an image in the website's library from which you can select. Search the library for an appropriate image.
Selecting an Image from the Library
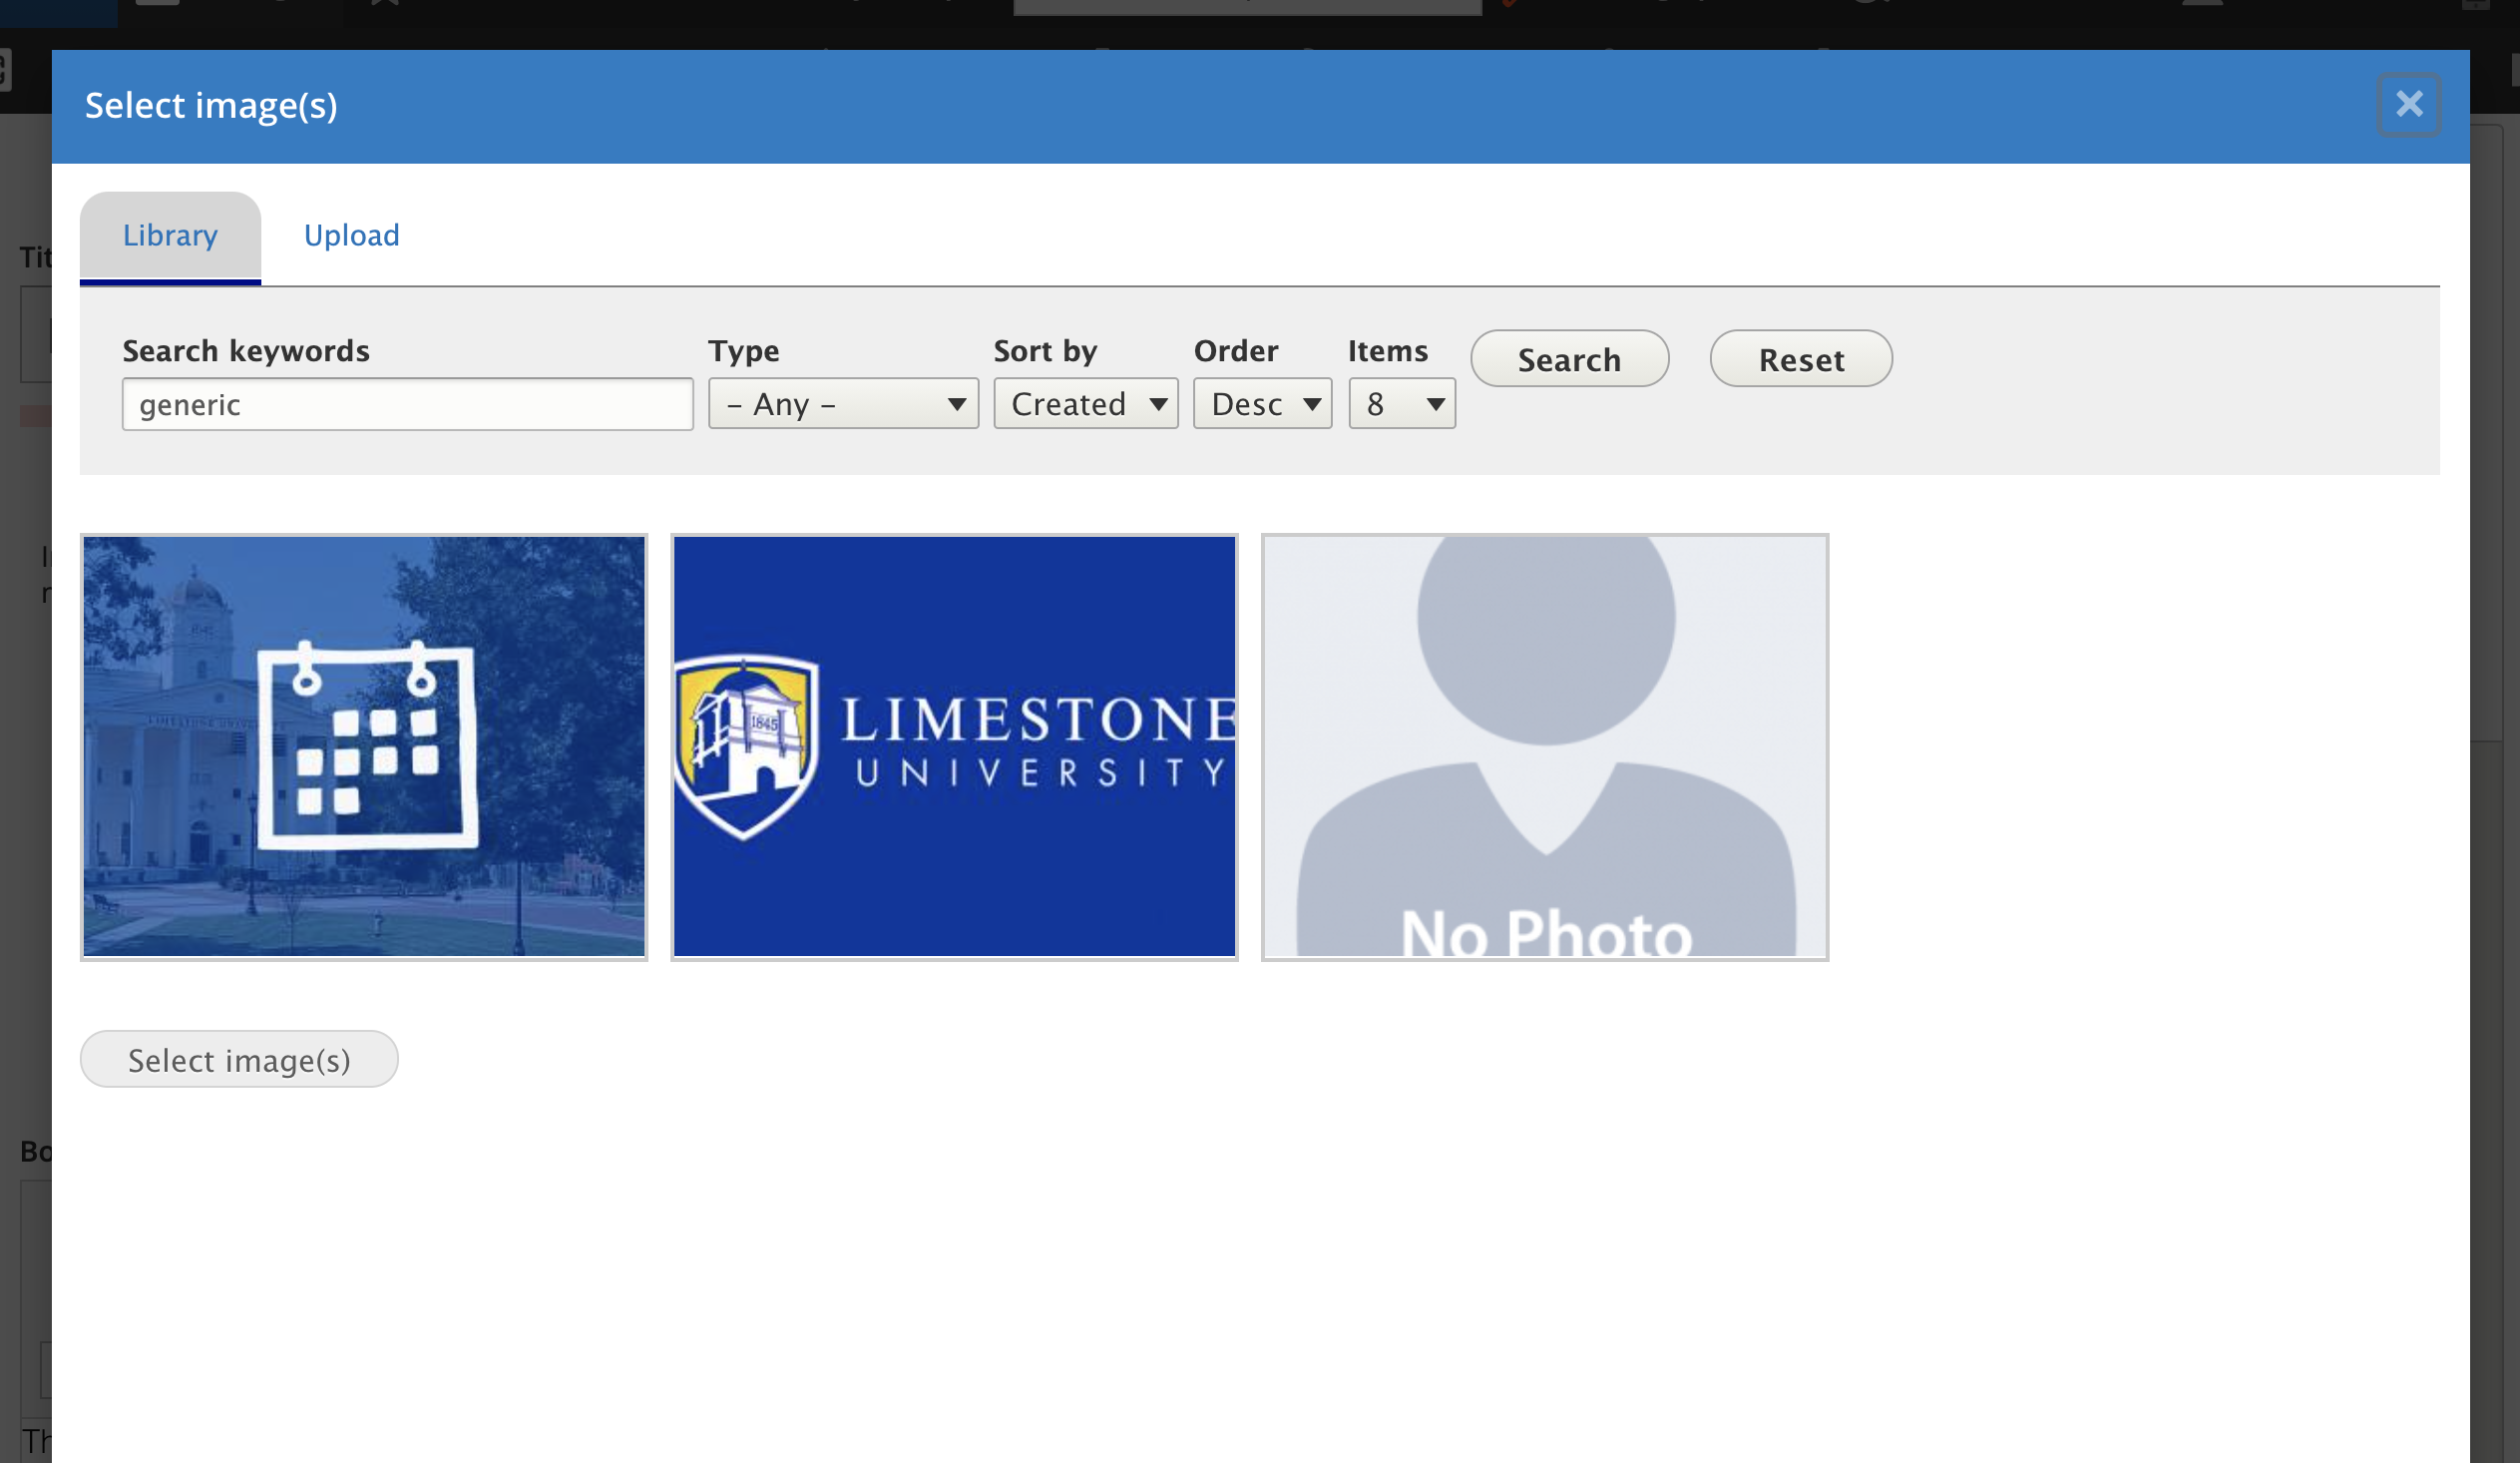
Sometimes a generic image is appropriate. So, search "generic".
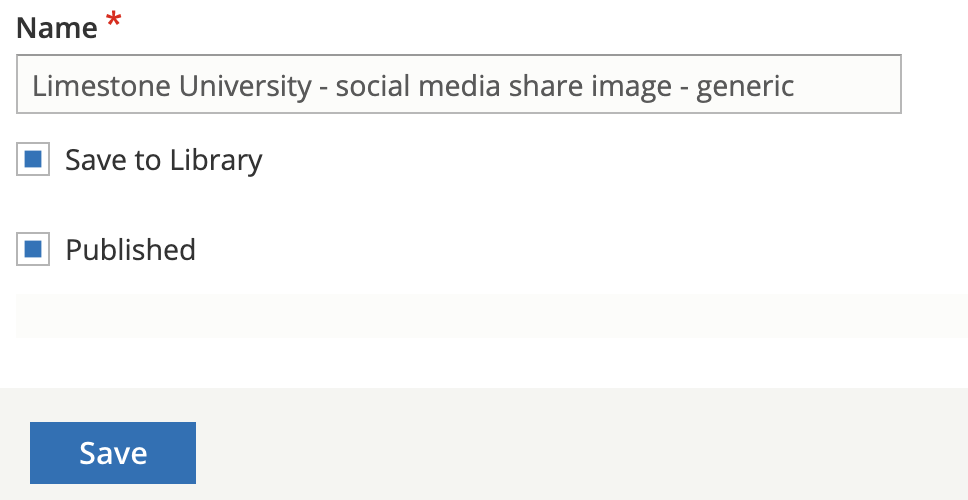
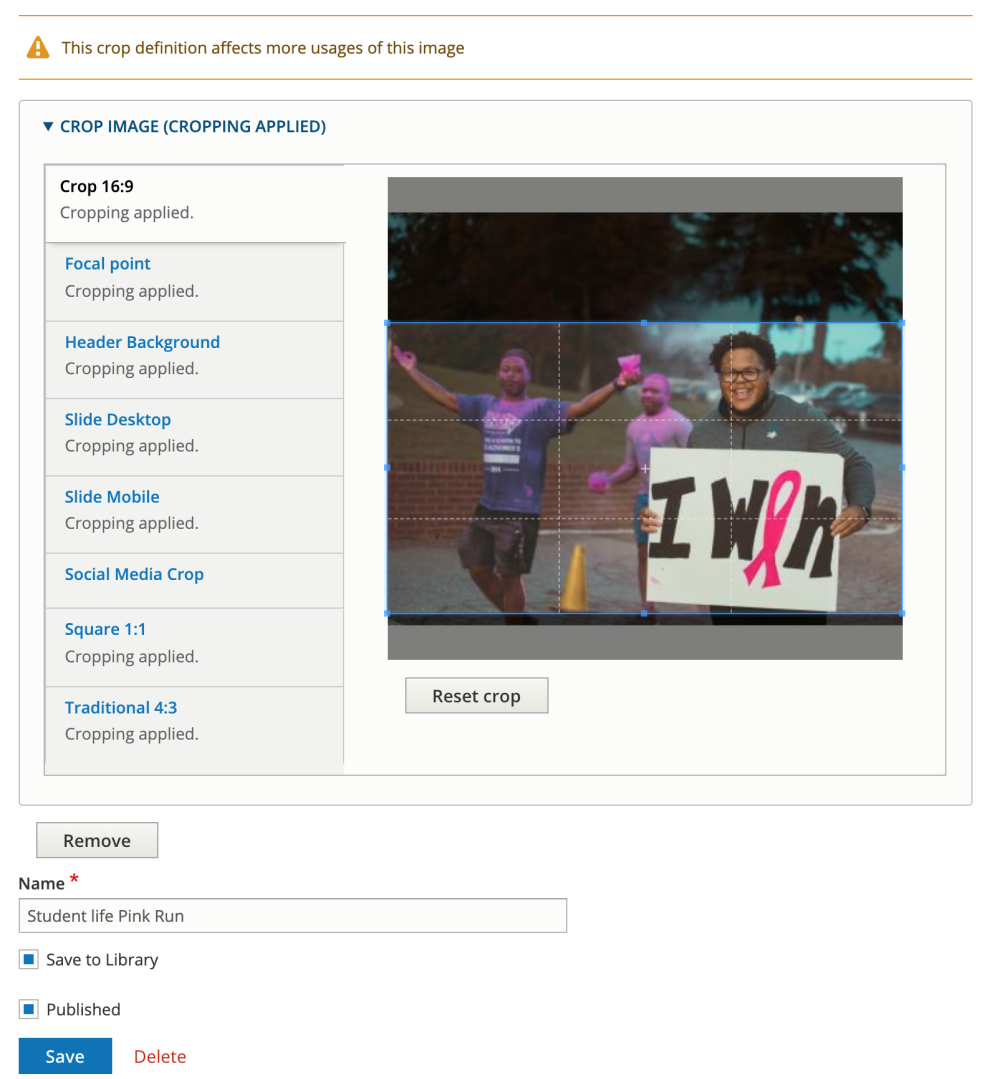
This is why smartly naming each image is extremely important. The website's library contains hundreds of photos, but if they aren't named appropriately, it will be difficult to find them. The "Name" field is at the bottom of every image edit screen.
If you are uploading a new image, click on the Upload tab:

And drag and drop your file into the designated space or click to upload a new one.
This is where the fun begins.
Modify the crop types.
One image can be attached to multiple nodes (pages). The dimensions of the image can change depending on where the image is displayed on the website. For instance, the Social Media Crop is used for Facebook shares when the image is attached to a news article or page.
After clicking Save you are done! This image now lives on the site and can be re-used when needed.